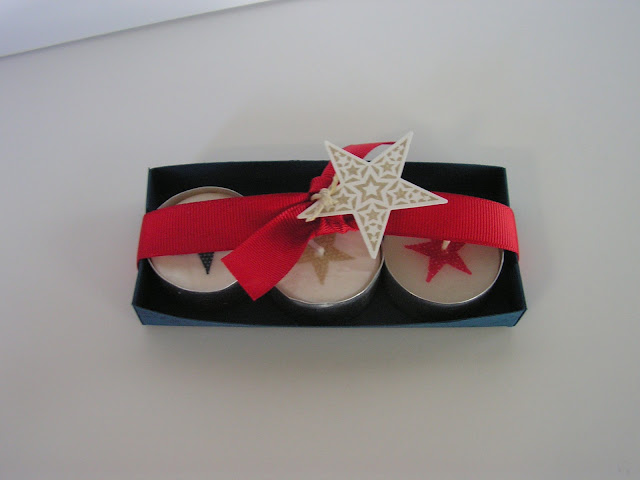
Hello. This project is something we made at a class I taught. I was so excited when I thought of the project, and it was relatively easy, except for the box, because sometimes I struggle with dimensions and making things up from scratch, but once I had the dimensions for the box, it was easy to duplicate and easy to teach and share. To make the tea lights, stamp an image on tissue paper (preferably white). Punch a small hole in the middle of your stamped image (to fit over the top of the wick of your tea light), then punch out your image with a circle punch. I used a 1 3/8'' circle punch to punch out my stamped image. (Before you punch out either of your circles, I would recommend backing your tissue paper up with a piece of scratch paper like binder paper, newspaper, or printer paper to make the punching easier and come out cleaner.) Then take your 1 3/8'' circle stamped image, place it on a tea light, putting the wick through your 1/16th of a hole, and then using a heat gun, heat the tea light until the wax has melted and the whole piece of tissue paper is wet with wax. Turn off your heat gun and let the tea light solidify again, and you're done. I made three different colors and put them in a little box to give as a gift. I tied it off with real red grosgrain ribbon and attached a punched out star and tied that on with some baker's twine. I also made another box and used the natural trim from Stampin' Up! instead of the real red grosgrain ribbon, and I really liked the look of that with the colors I used. The box is made out of midnight muse card stock. I also stamped the box with stars inked in versamark ink, for a little bit of decoration that wouldn't detract too much from the tea lights. Easy, fun and I think it's impressive!


Enjoy. I'll see you tomorrow!


No comments:
Post a Comment