Showing posts with label birthday. Show all posts

Wednesday, February 19, 2014

Weekly Deals!

Hello!  Sooooo sorry about forgetting to post yesterday!  It's been a crazy week, and it never seems to slow down!  I went to bed last night and realized I forgot to blog yesterday!  That's how busy I am!  Anyway, here's the weekly deals for this week.
View them in my online store here:

3/16 Inch Corner Punch
3/16 INCH CORNER PUNCH
Price: $6.95 $5.21
A Royal Day Ensemble -- Digital Download
A ROYAL DAY ENSEMBLE - DIGITAL DOWNLOAD
Price: $14.95 $8.97
Etcetera Designer Series Paper
ETCETERA DESIGNER SERIES PAPER
Price: $10.95 $8.21
Gold & Silver Stampin' Glitter
GOLD & SILVER STAMPIN' GLITTER
Price: $7.95 $5.96
In Color Dahlias
IN COLOR DAHLIAS
Price: $7.95 $5.96
Label Insert Pop' n Cuts Die
LABEL INSERT POP' N CUTS DIE
Price: $21.95 $16.46
Petals-A-Plenty Textured Impressions Embossing Folder Die
PETALS-A-PLENTY TEXTURED IMPRESSIONS EMBOSSING FOLDER DIE
Price: $7.95 $5.96
Silver Metallic Encore Pad
SILVER METALLIC ENCORE PAD
Price: $9.95 $7.46

Also, note that the Paper Pumpkin Free Markers deal for NEW Paper Pumpkin Subscribers has been extended through March 31.  Sign up here: www.mypaperpumpkin.com

And here's a stamped project for you today as well!
 These are two scrapbook pages I created for a class I had at my house a few weeks ago.  I loved the way they turned out.  The ideas came straight from my head, under pressure!  I was really happy with the result, and I love this stamp set Another Great Year!  It's a great birthday set!  Possibly my favorite set right now.  And the colors I used were Pistachio Pudding, Costal Cabana, Crisp Cantaloupe, Summer Sun, Whisper White and Sahara Sand.  The patterned paper is from the Sale-A-Bration set, Sweet Sorbet.  Get your paper pack for free with a $50 purchase!  Ask me if you have questions.


Thanks for stopping by today.  I'll see you tomorrow!

Thursday, October 24, 2013

Kid's birthday gift-art kit

Hello!  I'm excited to share this post with you today!  A couple of weeks ago, some of our friends had a birthday party for their son and we were invited.  The boy was turning five, and I remember when my sister was around that age, for her birthday, a friend of ours made her a cute little art kit with crayons, scissors, pipe cleaners, construction paper, stickers and glue and put all the items in a little manilla envelope and labeled it "Kelly's Art Kit", and my sister was in heaven!  I was pretty jealous and tried to steal it a couple of times, it was that cool.  So I thought it would be fun to make something like that for this little boy, and here's what I came up with:

I stamped some monsters, eyes, antennas, teeth and spots from the retired stamp set "Make a Monster" on some card stock, and included some popsicle sticks and googly eyes stuck on glue dots, and this was his 'monster kit'.


 Then I put crayons, chalk, two foam paint brushes, scissors, glue, stickers, and a homemade book for him to draw in, with his name stamped on the front, and I put it all in the envelope.  The book was made from a chip board piece from my convention make and takes, and I cut it in half, added some colored card stock cut in half, punched two holes with a single hole punch, added binder rings, stamped the front, and that was it!
 I was so excited to give him his present!  I thought it up over the weekend and couldn't wait to put it all together.  When it was all done, I wanted to keep it for me!  :)
Lastly, here's his birthday card I gave him.  This card uses the stamp set "Blast Off", paper from the designer series paper stacks in the brights colors, and the Argyle embossing folder.  Pretty easy!  I hope this inspires you to make a craft kit for a kid's birthday in the near future!  See you tomorrow!

Monday, October 14, 2013

Patio Party Card Box and Cards

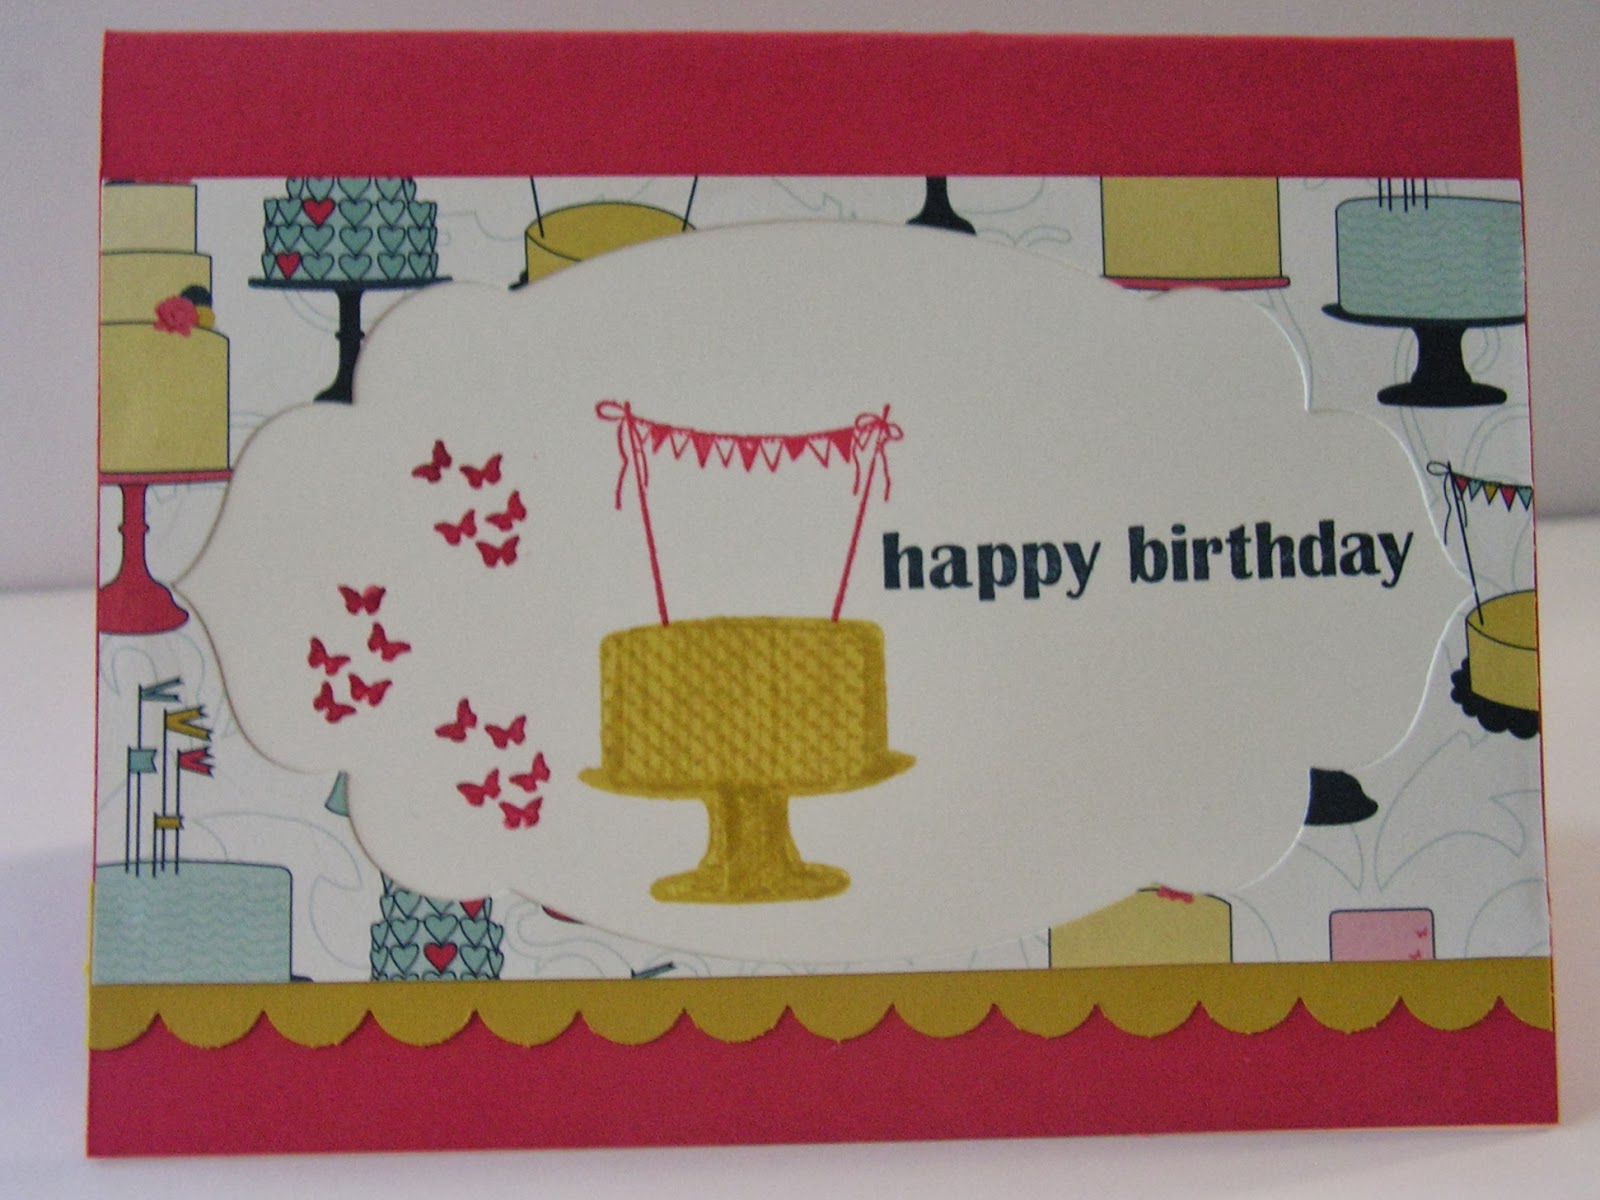
Hello!  I made a card box a while back that held a few matching cards, and I wanted to share a different version I came up with later on.  I showed some friends the original cards and box, and then when I showed them this box and cards, they said it gave them some more ideas for boxes and cards, because the original set made in gray and yellow was hard to draw inspiration from.  This project is made using retired Patio Party Designer Series Paper from Stampin' Up!, the Make a Cake stamp set, the retired set Best Dad Ever (for the Happy Birthday greeting), the modern label punch (#119849 $16.95), Apothecary Accents Framelits (#127003  $24.95), 3/8'' stitched satin ribbon in Summer Starfruit, Primrose Petals, Raspberry Ripple, and Midnight Muse, Stampin' Dimensionals, sticky strip, and the jewel basic rhinestones.


Hope this project inspires you to make something!  Enjoy, and I'll be back tomorrow!

Thursday, October 3, 2013

Happy Birthday Banner

Check out Stampin' Up!'s blog every Thursday in October for "Thank you Thursdays", where Stampin' Up! will post discounted products for one day only, (while supplies last).  View the blog at http://stampinup.com/home/get-inspired, and when you purchase items, be sure to select me as your demonstrator, or shop directly from my online store at www.williamsali.stampinup.net.  Thanks!

And now for the part you came here for....

Good morning! Today is my Aunt's birthday, and while I had many good intentions to make her a birthday banner, it never happened, so instead, I'm posting a birthday banner I made in honor of my Aunt's special day.  I made this banner a few weeks ago for a friend who was coming from out of town, and never had a chance to post it earlier.  I'm really happy with how it turned out.  I used the birthday basics designer series paper pack and the create a cupcake punch from Stampin' Up!  Let me know what you think!  I liked it, and as always, I didn't want to give it away, but was happy to be giving my friend something I was so proud of.


Enjoy, and I'll see you tomorrow!